
HOW TO MAKE A SIMPLE JEWELRY HOLDER

This whole social distancing thing has caused me to go on quite the sewing spree lately — from finally sewing a top from scratch to making a small batch of face masks to shortening the hem on one of my favorite linen dresses. There’s something quite therapeutic about the act of sewing, and it keeps my hands busy doing something other than scrolling through my phone (anyone else’s screen time up from usual these days?). And without the ability to go thrifting and find new treasure (which my wallet has been loving), I’m instead getting creative with materials and items that I already own.
Which brings me to my latest weekend sewing project — a simple jewelry holder using scrap materials (I didn’t spend a single penny on this one)!
I’ve been meaning to tackle my very unorganized jewelry box situation since the start of 2020, but just never got around to it because I had more fun things to do on the weekend. This weekend, however, I finally did something about it. I decided to swap out my current “jewelry” box (a thrifted wood box that I tossed everything in) with this wood tea box that was being used for bathroom storage. I liked that it already had dividers to help keep things more organized.
After a quick Pinterest search, I got the idea to create “cushions” for two of the sections to display my rings and earrings — They somewhat resemble the pillow cushions I made for my Barbie dolls growing up (oh how I miss those days sometimes). I looked through my scrap fabric pile and found this lovely olive green wool from a pair of vintage pants that I thrifted and shortened the hem on. I had just enough material for this project in particular, so it worked out perfect! I then stole some pillow stuffing from an old pillow insert to fill the cushions, but you could also use materials like old socks or fabric if you don’t have any stuffing on-hand.
NOW … let’s get started!

WHAT YOU’LL NEED
Scrap fabric of your choice
Box of your choice
Sewing machine (or a basic sewing needle if you choose to do it by hand/don’t own a sewing machine)
Thread
Scissors
Stuffing (if you don’t have any stuffing on-hand, you could also use old socks or fabric that gives a similar “stuffing” feel when bunched up/rolled)
STEP 1
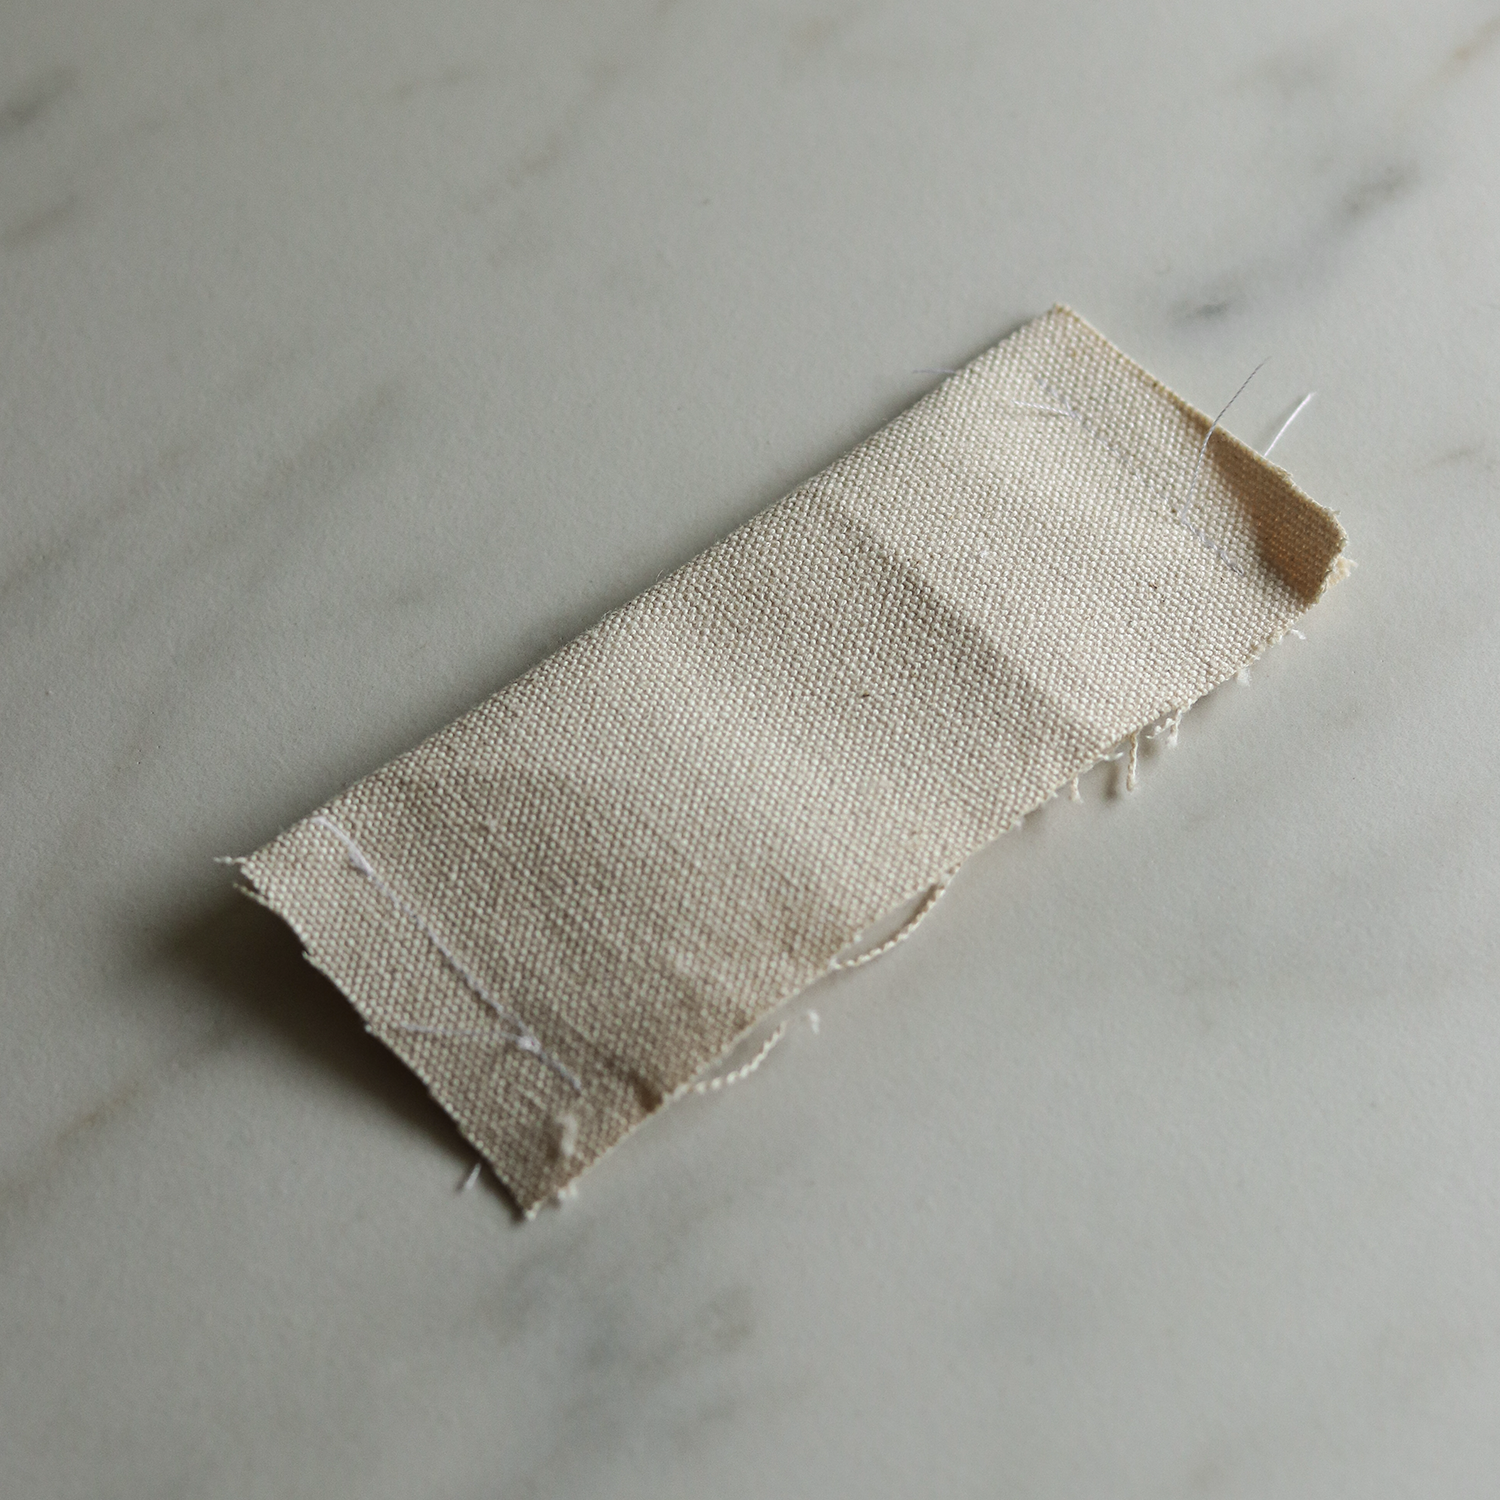
Measure the inside of the box and cut the fabric. The cushion should sit slightly below the top of the box when folded in half. Leave about a 1” seam allowance horizontally, with 0.5” on the left and right sides.
Fold the fabric in half, with the inside facing out (it will eventually be flipped inside out). The folded side will serve as the “top” of the cushion. Sew a stitch along the left and ride sides (separately), making sure to go back and forth a couple times at the beginning and end to help secure it. Cut any excess thread.

STEP 2
Flip the fabric inside out (like a little pillowcase), so that the stitches are no longer visible. Add stuffing until it’s the desired puffiness, and squeeze it in as tight as you possible can.

STEP 3
Using the same stitch as Step 1, enclose the bottom of the cushion, again going back and forth a couple times at the beginning and end to help secure it. Cut any excess thread.
(Note: It’s okay that this side is kind of rough because it won’t be visible nor will it be used in a way that would cause significant wear).
Place the cushion in the box with the seamless side facing up. Repeat Steps 1-3 until the cushions fit tightly together, leaving just enough room to insert a piece of jewelry without it falling in between the cracks.
And that’s it!
This project took me about an hour from start to finish, but timing may vary slightly depending on how many cushions you make, as well as how large you make them. If you give this little DIY a try, I’d love to see the final product! Send me a DM on Instagram or tag me in your post and I’d be happy to share it, too!
